
And you know what? I haven't bought any since, not because of the tyrannical (and teasing) "command" my husband made, but the fact that I could make it all!
I started out small and easy, saving all my small strips of excess cardstock I had cut off of my card and scrapbooking projects. I admit, I was a hoarder even with these tidbits of paper. Lucky for me they turned out to be treasures, especially around the holidays!
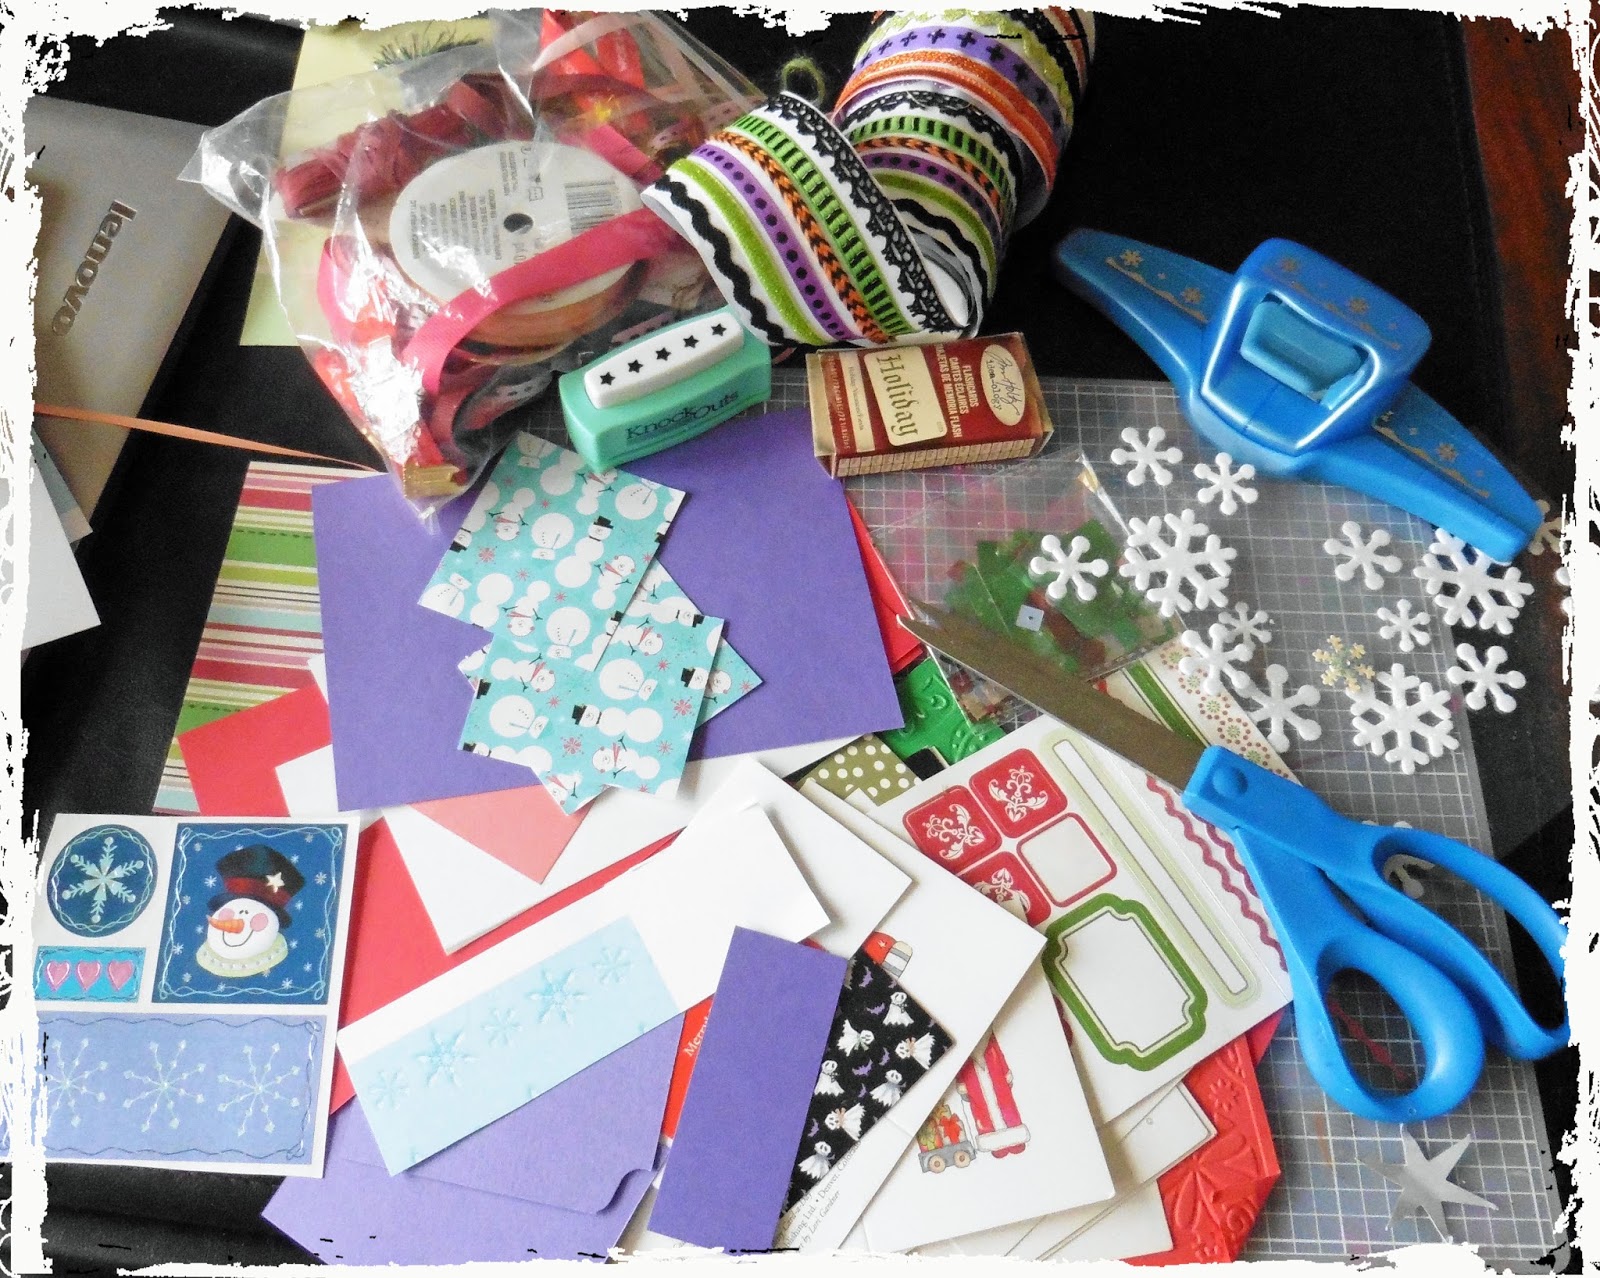
I pulled out a handful of excess paper pieces, some holiday stickers, ribbon, and even scored a few 3x3 calendar cards that I saved from who knows what year! And here I am, ready to show you why you should a) save your strips of paper, and b) never buy those cheap little Christmas tags, even when they go on clearance, because you can create better ones in minutes!

I also had patterned cardstock pieces, which I treated the same way, using a colored gel pen for doodling the borders, but these have a pretty pattern on their backs (see tag #2)
If you want, you can make the same tag, but adhere it onto cardstock, punch a hole in the top and string ribbon, string or whatever you have on hand for a different look (see #3).
Remember the 3x3 calendar cards I mentioned? I cut up the Christmas ones and wrote my message on the back of the picture (see tag #4). Easy peasy!
Finally, I had found some leftover Christmas stickers, which I don't necessarily like to use on my cards. So I placed the sticker on cardstock, folded it and cut it to a size that could be folded (see tag 5). My message is on the inside. I often use these to accompany gifts for neighbors or friends.

Once I have my tag stash, I'll have to put them away until the holidays, but finding where I put them will be the real test. Maybe I should make a Tag Stash Box to go along with the Card Stash Box?? Hmm...

Paper isn't the only craft supply I've been hoarding over the years. I have an overflow of buttons and rarely use them, so I like this idea for tags, compliments of The Xerxes, care of Pinterest.


So that's all for part one of Tags, Bags and Bows. Next month I'll show you some interesting takes on homemade gift bags (and a few gift boxes). Until then, happy crafting!
2 comments:
These are some fabulous ideas Pat. I would never have thought to use scrap bits of my cardstock to make tags! You're so clever! Love the look of the hanging button 'ornaments' and that paint chip tag is such a cool idea!!! Will definitely have to keep these in mind! Thanks so much for sharing!
♥Lisa
p.s. I meant to say how adorable Wilson looks with his little botties and coat on. Too cute!!! -L.
Post a Comment